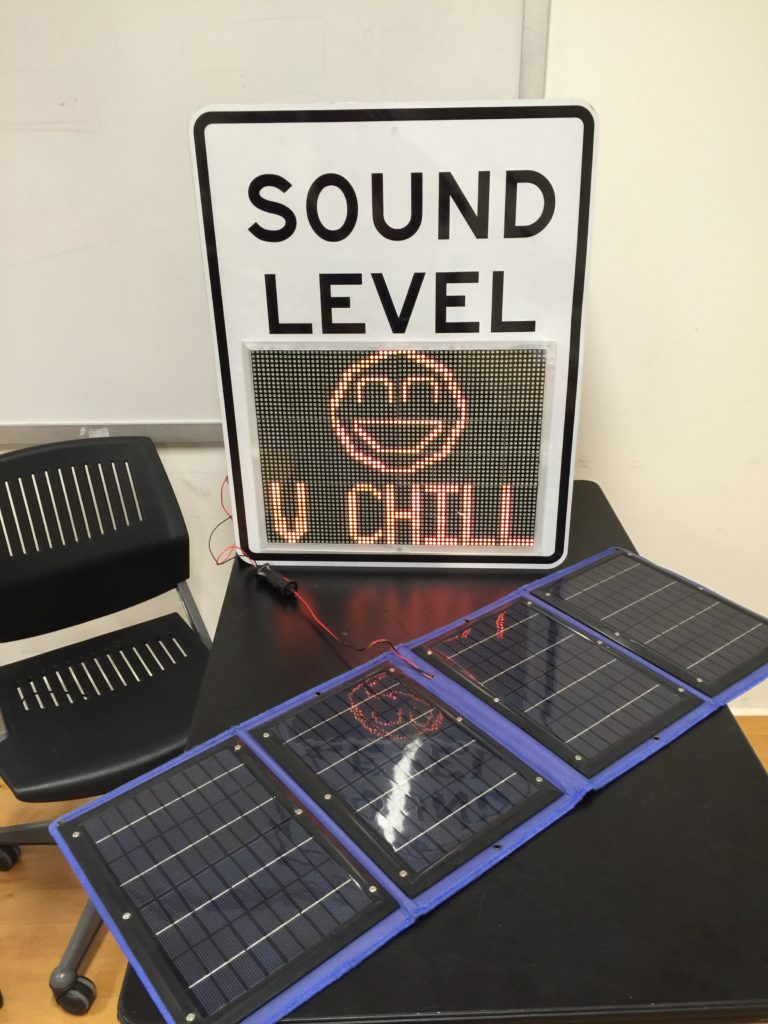
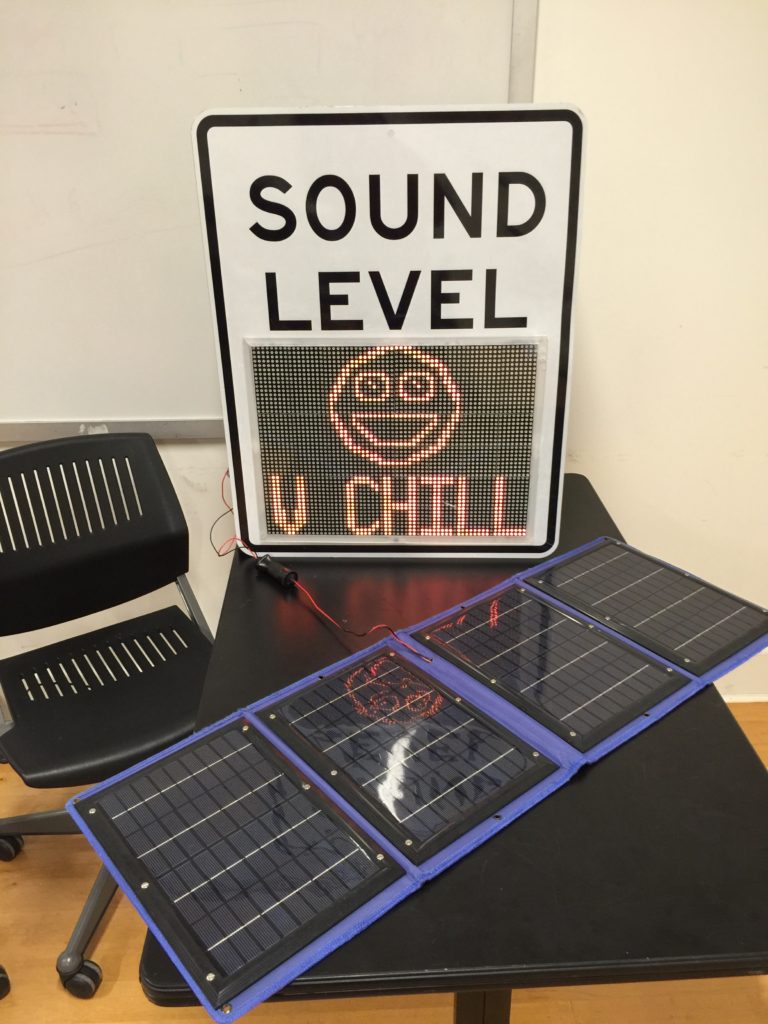
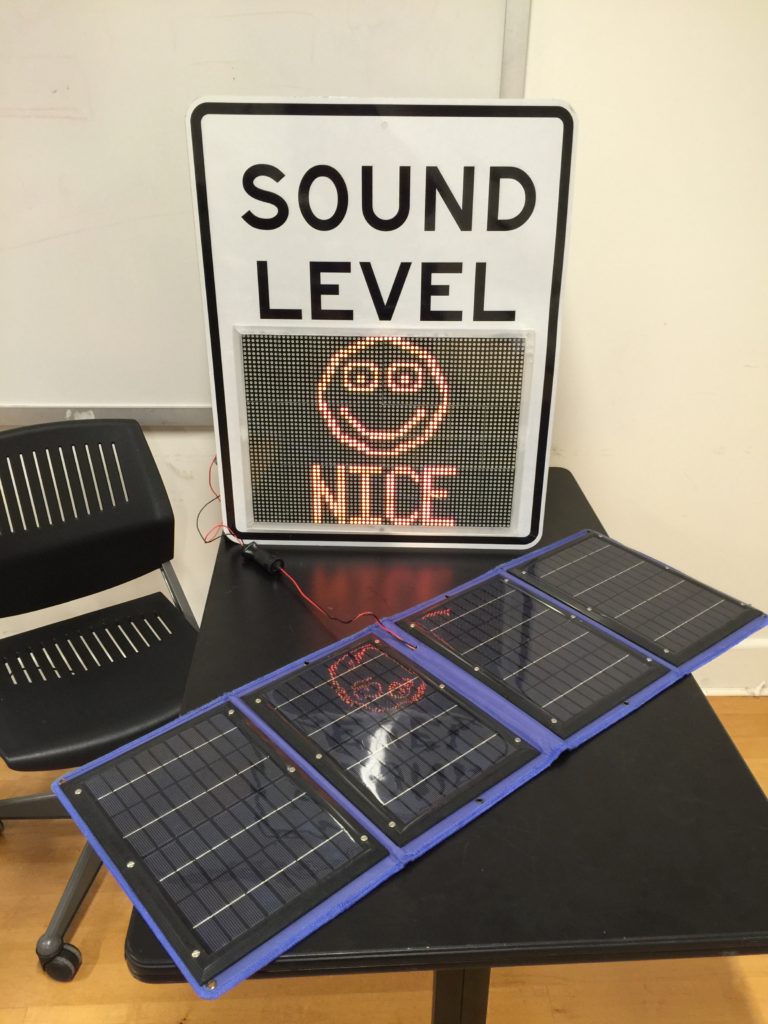
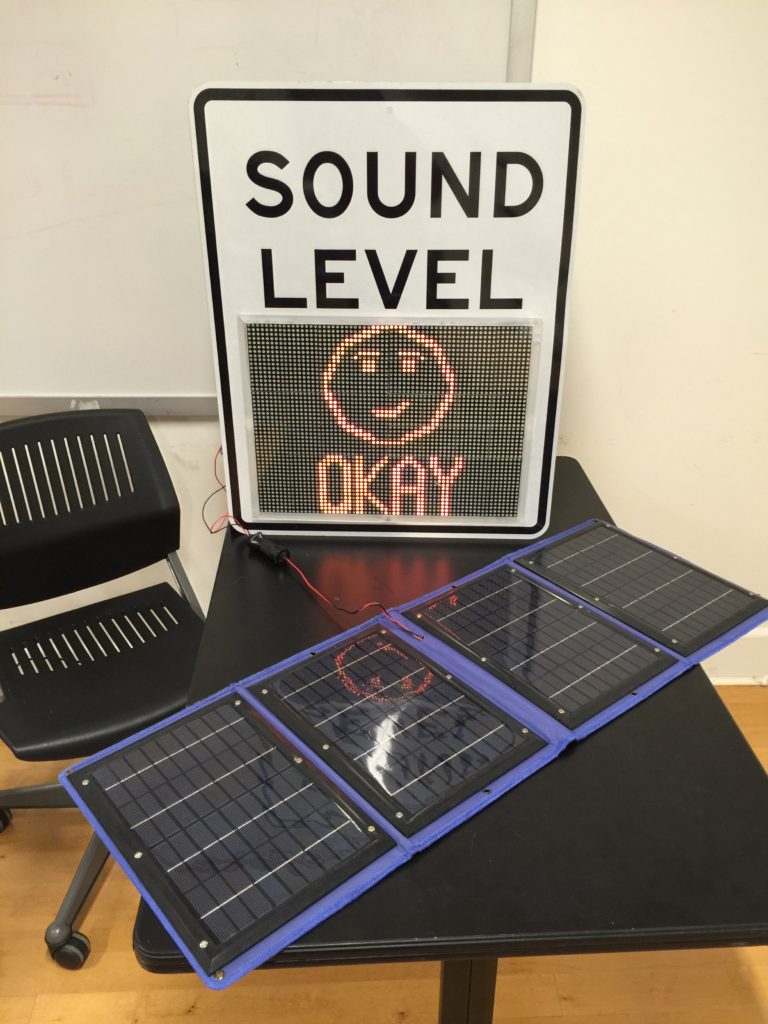
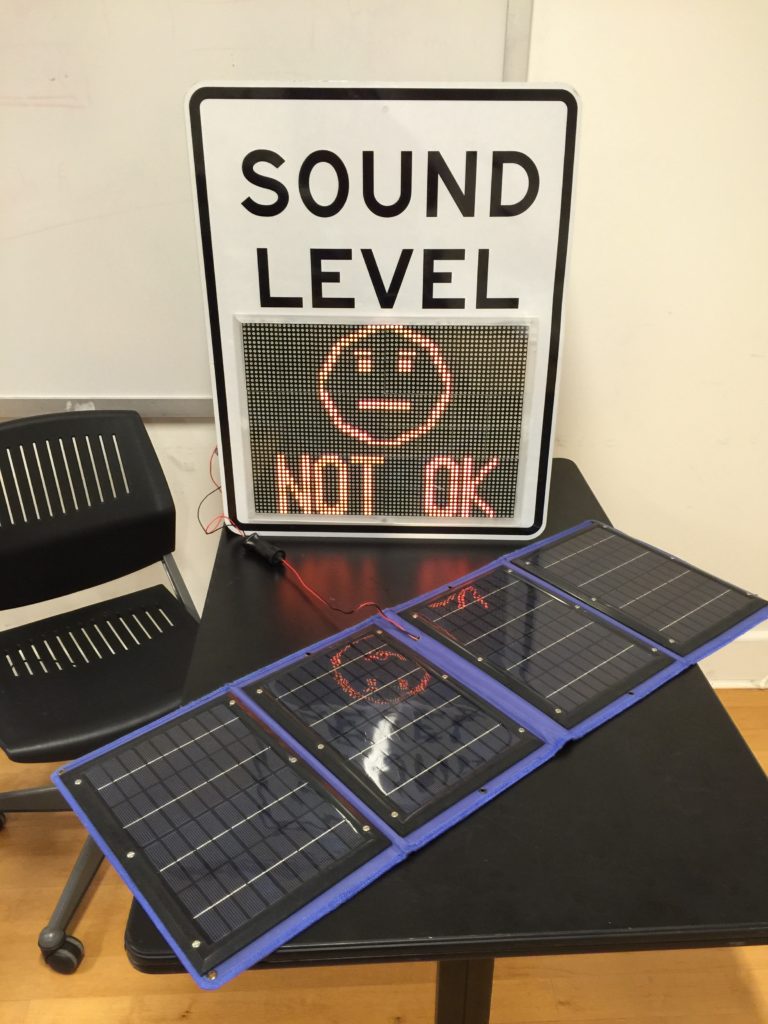
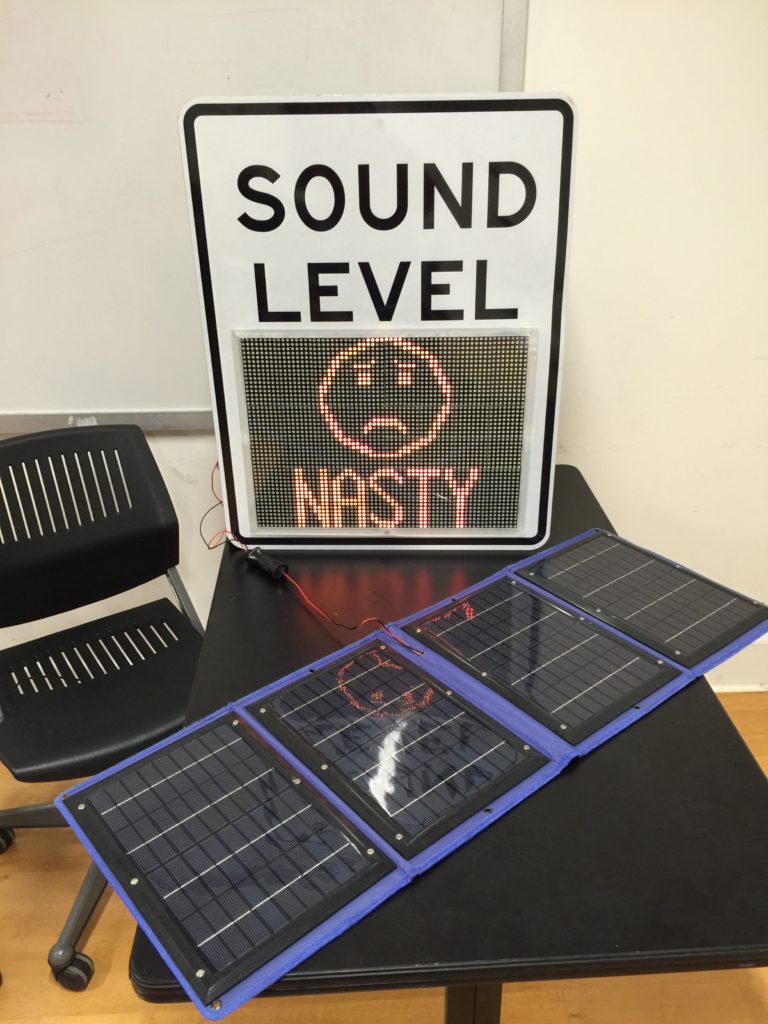
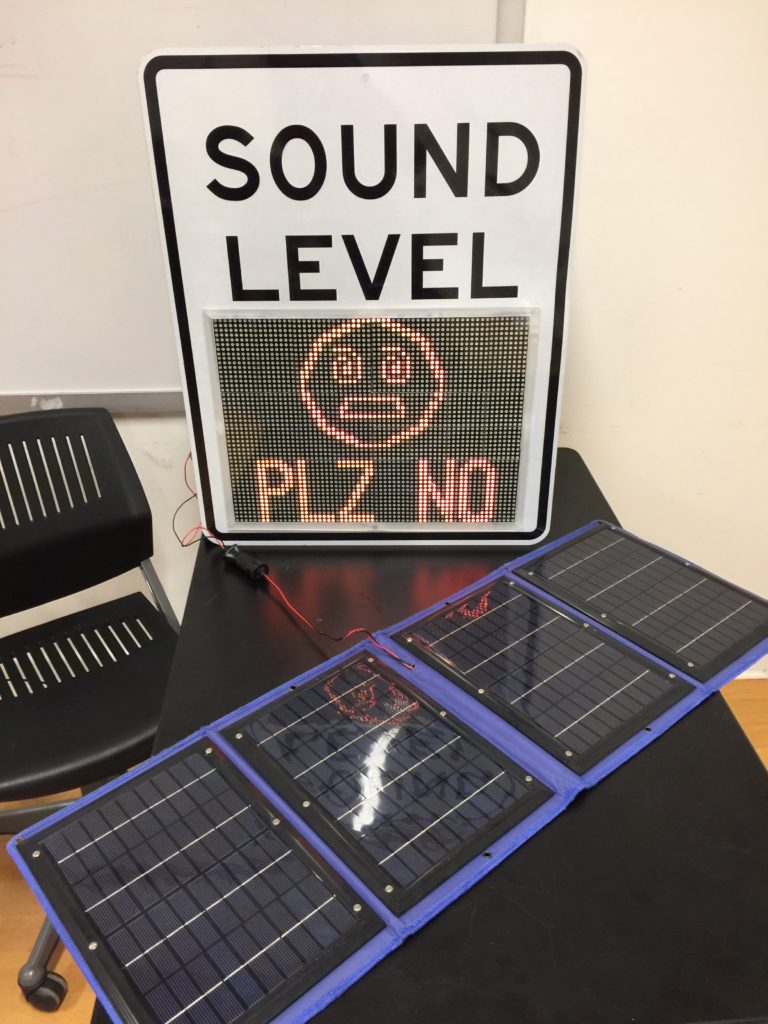
The Sound Level Sign demonstrates a fun, low cost solution to a growing urban problem. As the level of disruptive noise increases The Sound Level Sign will bear an increasingly disgruntled face and a disapproving message to drivers. By framing the issue as an information problem (in the vein of the “Your speed is…” signs) The Sound Level Sign will reduce local noise pollution without the need for further government regulation, police enforcement, or expensive sound insulation. In addition, The Sound Level Sign can run on solar and battery power which makes it easy to install and operate off the grid.
I developed The Sound Level Sign as a way to document and hopefully reduce noise pollution around major intersections. The bridge I live next to is loud all day and night (DNAinfo). The goal of The Sound Level Sign is for it to be displayed in the view of drivers, reacting in real time to honking.
Building the physical sign required 1 24” x 30” Highway style street sign, 6 Red/Green LED boards, 2 arduino uno, a microphone, 1 12 volt battery, 1 12v DC to 5v DC converter, 1 Solar/battery controller, and 1 solar panel/ power supply.
I started working on this project by selecting the LED boards that I was going to use. Since the sign was going to rely on battery and solar power I ended up using dual color LED boards to conserve battery life and processing power. I then spent some time learning how to use the LED boards and a library that helped animate them (LED library).
Video: Testing LED Display
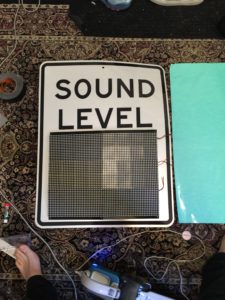
Once I felt comfortable with the energy use and functionality of the boards I determined how many I would need and how they would fit onto a sign. I wanted the LEDs to fill up the area on the sign typically devoted to the speed limit numbers, given the dimensions of the LED boards a series of 6 boards on a 24” x 30” sign seemed to fit closest to that. Using a US gov’t regulation speed limit template I designed the graphic for the sign to accommodate the screens and ordered it from roadtrafficsigns.com.
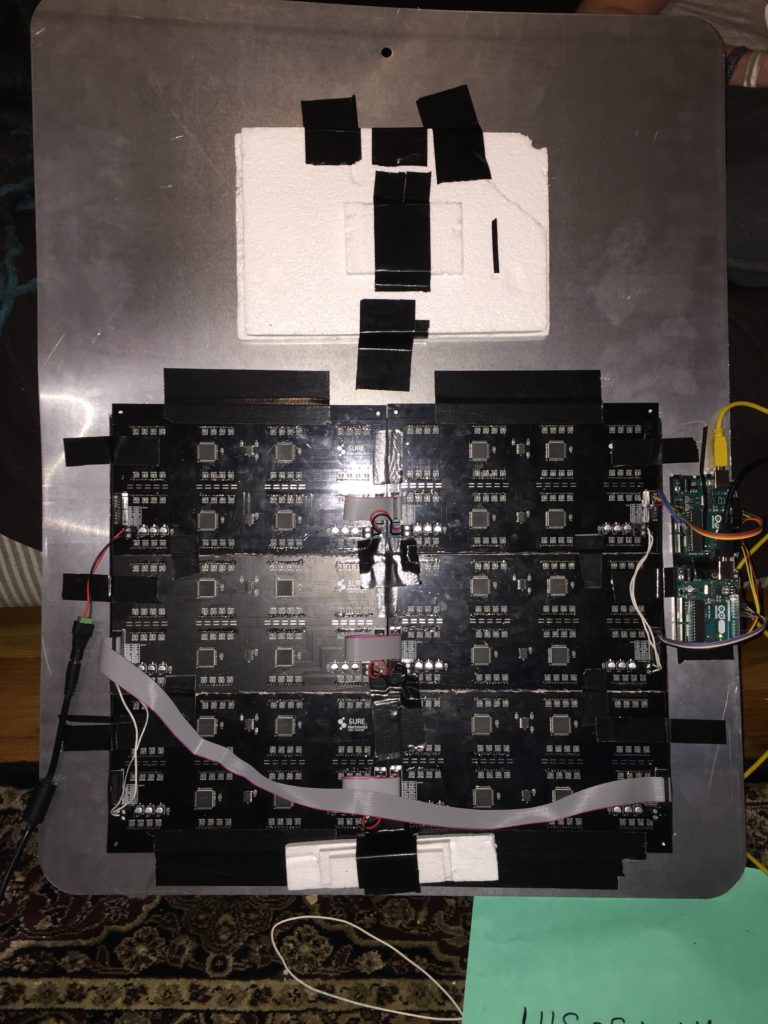
At this point I had assembled my 6 LED boards together by trimming the edges of the PCB to make them one continuous display.
The next step was to cut the Almunimum sign and install the LED boards. I made the cut using a jigsaw and then glued the LED boards into place. At this point I also began experimenting with sound detection, but I will cover this separately later on.
Video: Early Testing
The cut I made was pretty rough so I built a frame to sit flush with the edges of the LED display and cover up the jagged edges. Then I put a piece of clear plastic on top of that frame to protect the display. I was close to the final product but It was still running off of power from a wall outlet.

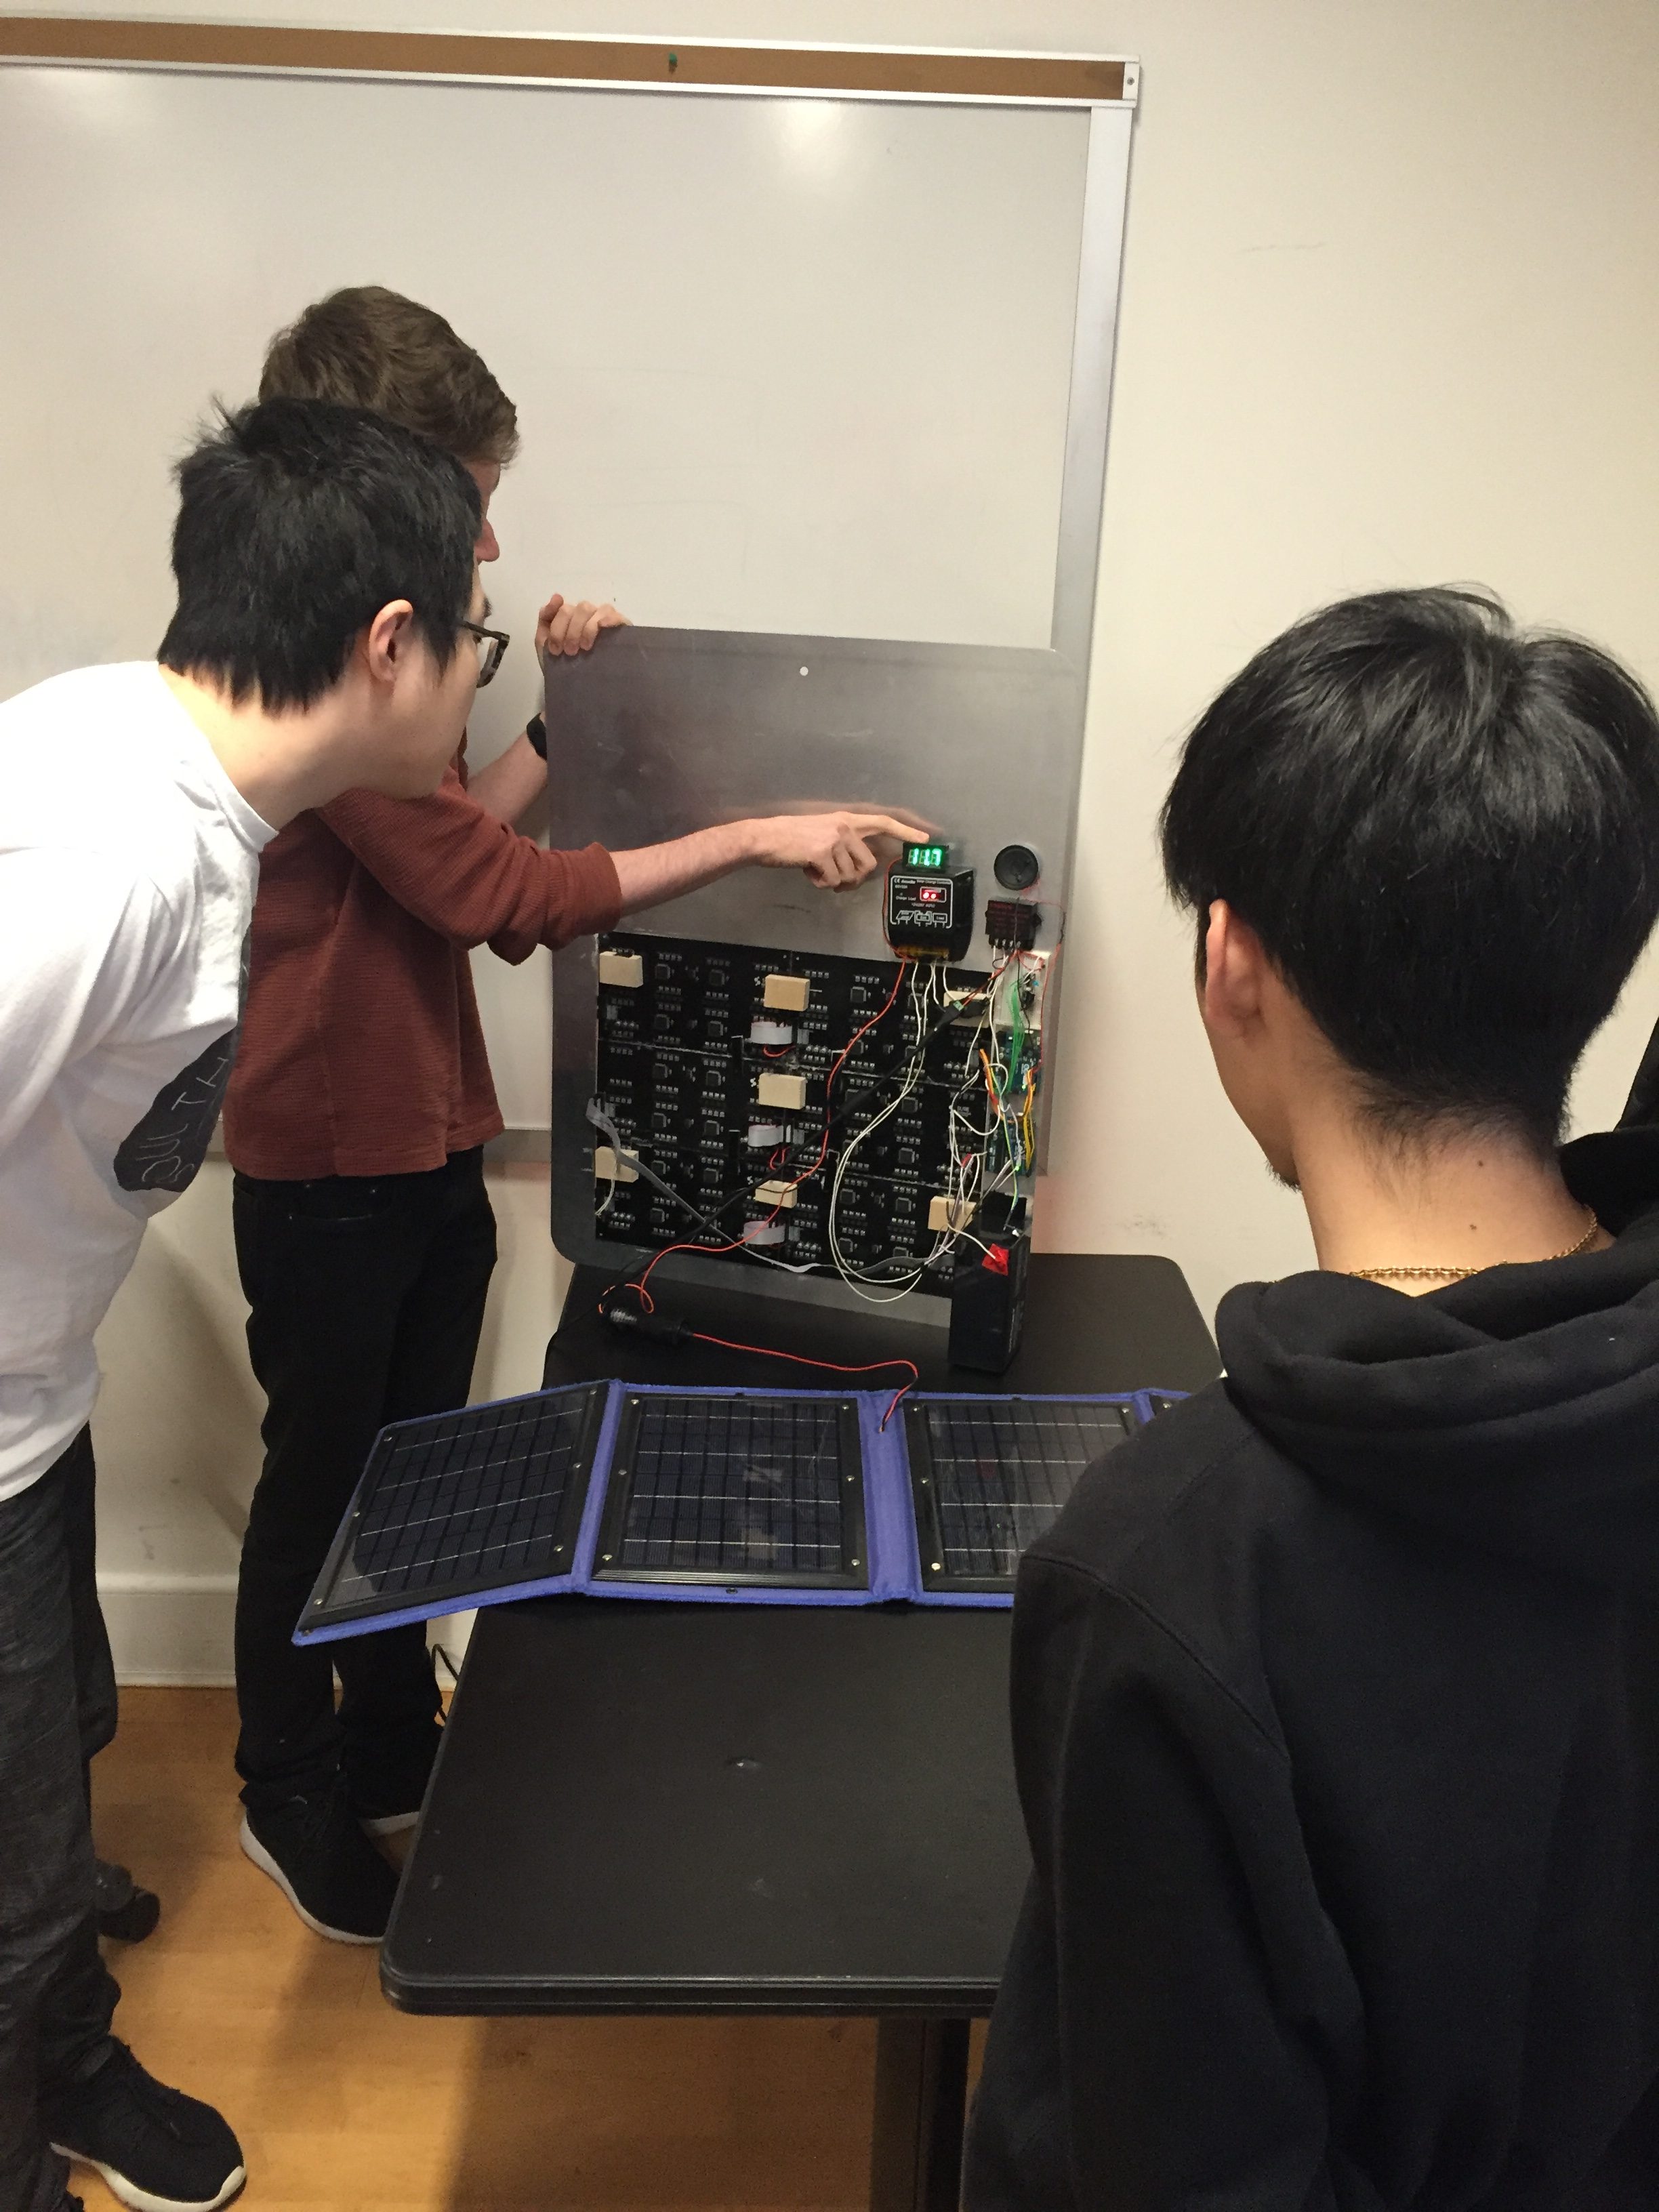
At this stage with basic sound detection enabled and the display working I did my final energy measurements that I would use to build the battery and solar components. My system was all 5 volts and used about 2.19 – 3 amps, about 15 watts. The solar panel I wanted to use was 12 volts and so were most affordable Lead Acid batteries so I bought a 12 volt to 5 volt DC converter which could handle up to 50 watts, just in case. The battery I selected had 7 Amp hours of charge which I calculated as giving me about 5 hours and 30 mins of use with no external power input. Then I bought a 12 volt solar charge controller that could handle up to 20 amps to keep the battery within a safe voltage range and to supply power to the DC converter. Lastly, the solar panel was borrowed from ITP’s equipment room but could be replaced by most 12 volt panels. After wiring up the battery, solar panel, the controller, converter, arduinos and the LEDs the sign was able to run without wall power.
Design:
While building the sign and programming the displays I focused on having the sign fit in naturally with other information signs on the street. I didn’t want the sign to be a nuisance in itself so their is very limited animation and color change. I also avoided using colors or symbols that might be confusing or needlessly attention grabbing. The faces and messages that the board displays are meant to be funny/entertaining and to avoid antagonizing drivers while still making the point that most honking is excessive and disruptive.
Sound Detection:
Video: Sign Working With Sound Detection
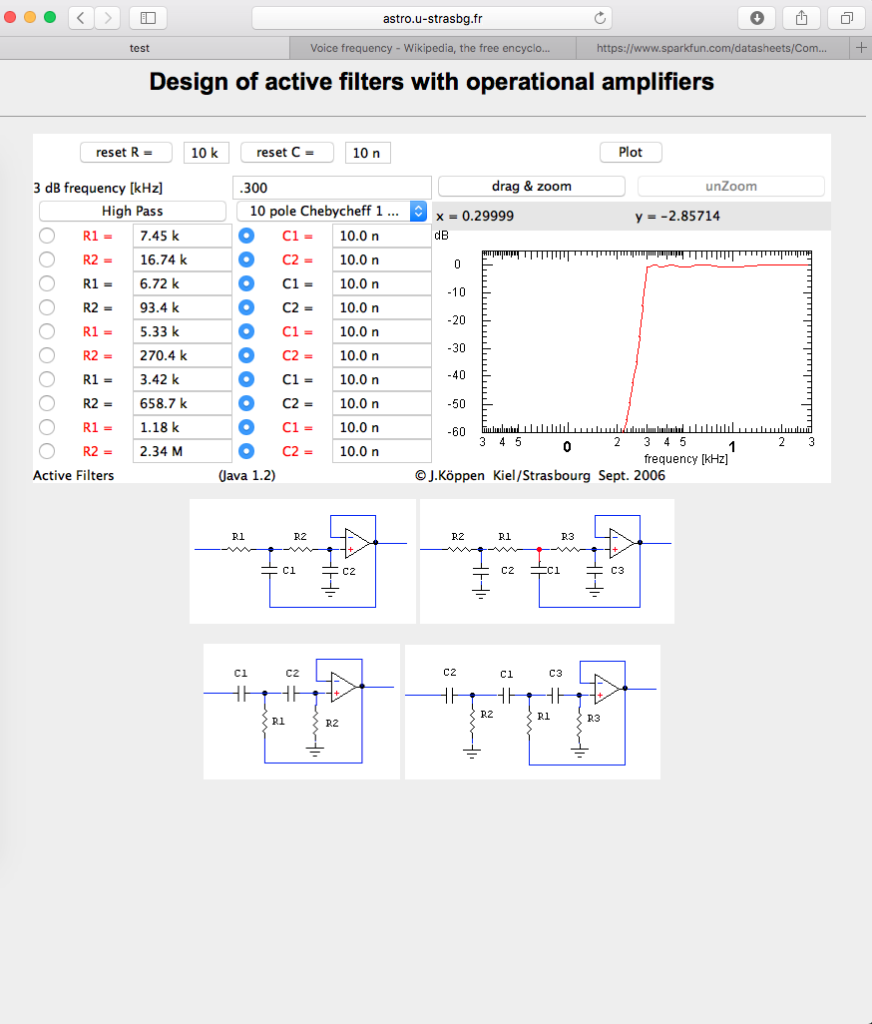
I experimented with a variety of sound / car horn detection while working on this sign. The sound detection was based off of previous work I did at ITP whose documentation can be found (here). Ultimately the current version of The Sound Level Sign will use a less robust algorithm to detect loud noises due to some limitations of the arduinos I was using. That being said, there are a variety of methods I tested which are all good alternatives. The sound/ honk detection I worked on previously preformed a frequency analysis of incoming sound (FFT) and identified continuously loud tones as a measure of honking. This method worked well for filtering out other city noises and allowed sound detection to be more specific however it also required a lot of processing power relative to other methods. The second method was much simpler, it simply detected loudness by comparing voltages across the microphone. This method was much less processor intensive but was somewhat unpredictable and bad at reacting to continuos sound. The final method I tried was using analog filters to pre-process the sound before measuring the voltages across the microphone. I built the filters to amplify the frequencies common to car horns (approx 300- 600 hz). This worked fairly well in conjunction with the second method to make the reaction of the sign more predictable in some cases, however the circuit I built had a good deal of interference and made the wiring of the sign a lot more complex and fragile. Ultimately I have the sign counting loud sounds to trigger different faces, using the second method for simplicity and demonstration purposes. However I am very confident that with a different microcontroller or better circuit design the sound detection could be very reliable. Sound detection like this has also been done with machine learning and this is an option I am also exploring (SONYC).
Having completed this version of the sign I have a few thoughts on how it could be developed going forward.
- I need to do more research into LED displays that are optimized for outdoor use. My current display was optimized for power consumption and low demand on the microcontroller however I do not think they are the best for my application because they can be hard to see while in sunlight.
- I’d like to water and tamper proof this sign so that it could meet other requirements of public infrastructure. I am interested in how this effects the overall cost of the sign.
- Sound detection could move towards machine learning techniques and data collection could become a more central aspect of the sign.

(Final Video Coming Soon)
Acknowledgements:
Display Library
https://github.com/flavio-fernandes/HT1632-for-Arduino
Sound Libraries
http://wiki.openmusiclabs.com/wiki/ArduinoFFT
https://github.com/adafruit/piccolo
Jeff Feddersen – Energy @ ITP